Design Planning
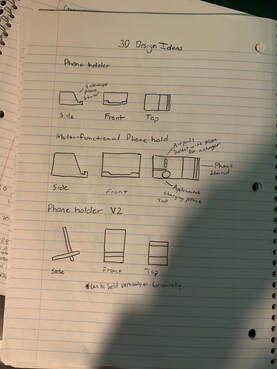
I began with creating several rough designs for how I wanted my phone holder to function and look. After that I began researching measurements to figure out the size of my phone, size of a charging cable and the size of my Apple Watch charger which I wanted to embed into the design.
Designing in inventor
I started by designing a cube that would be 5 inches by 5 inches by 2 inches tall. I chose the 5 inch width because it was the largest I could go and also it fit my phone very well. I chose to have the length be 5 inches because I wanted give my phone enough space for when it leaned back that the center of gravity would not be to far back which would cause it to flip over. Also I knew that I wanted to add an AirPods holder and Apple Watch charger.
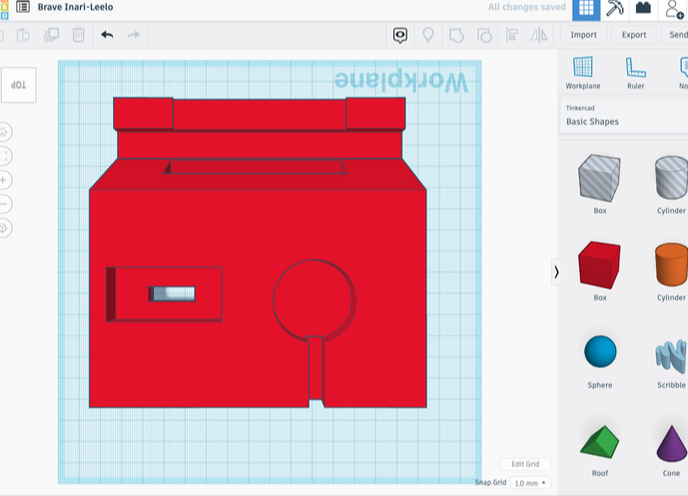
Following the creation of the spot for my phone to sit either vertically or horizontally I started to work on the Apple Watch charger holder and AirPods holder. I made them both embedded into the design making the Apple Watch look flush to the base when it was charging and to have the AirPods standing up. I used the dimensions I had researched to create fitted slots for each and centered each one giving them both adequate space.
|
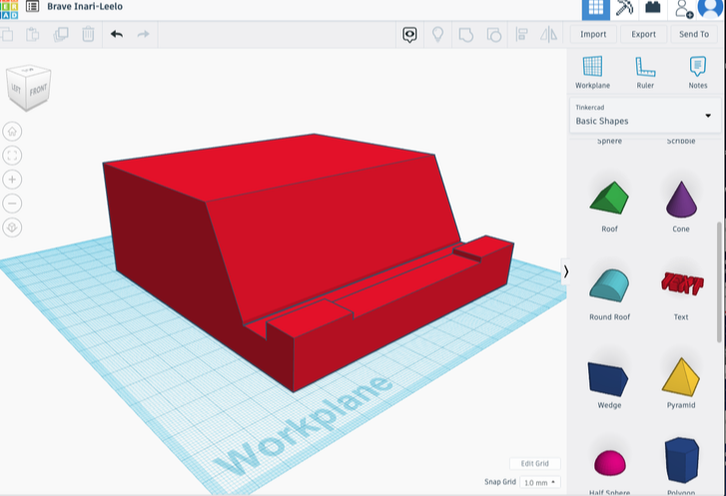
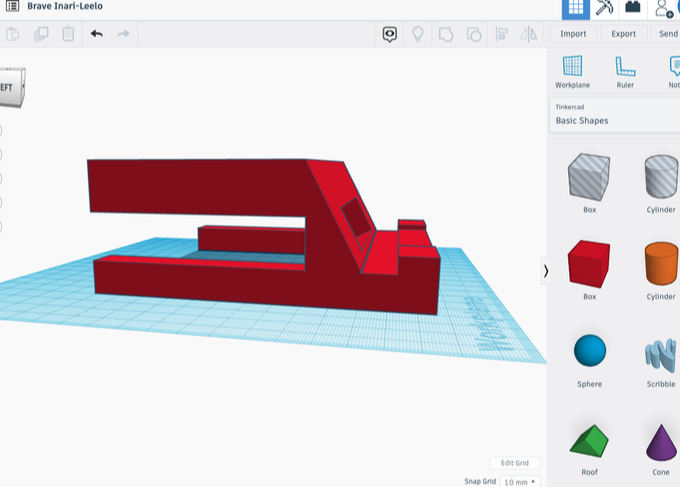
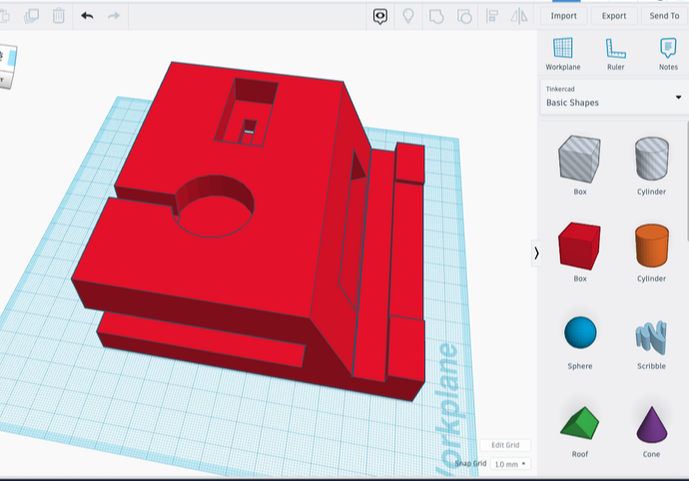
Next I wanted to the phone holder some unique design features and flare by creating holes an gaps in the "box" to make it look less basic and bland. I cut out sections underneath the charging ports for easy access to the cables and it gave it a floating look.
|
|
|
In the final design of my phone holder it had cut outs for the AirPods charging cord and a snug fitted spot for the AirPods to sit in and charge, as well as a cut out for the Apple Watch charging cord and the Charger to fit in flush, as well as easy cable access in the back and a unique design that makes it look less like a box and more like the entire design is floating.
|
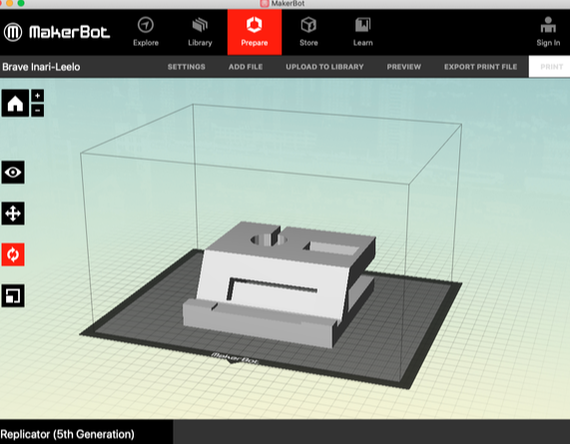
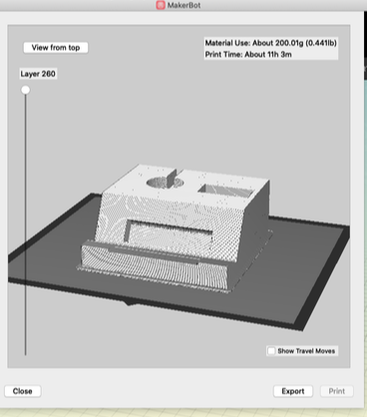
Once I had finished creating the design I put the CAD STL into maker bot to verify my dimensions. After I had done that I put it onto my flash drive to go print. The makerbot file is shown below along with the print preview below that.
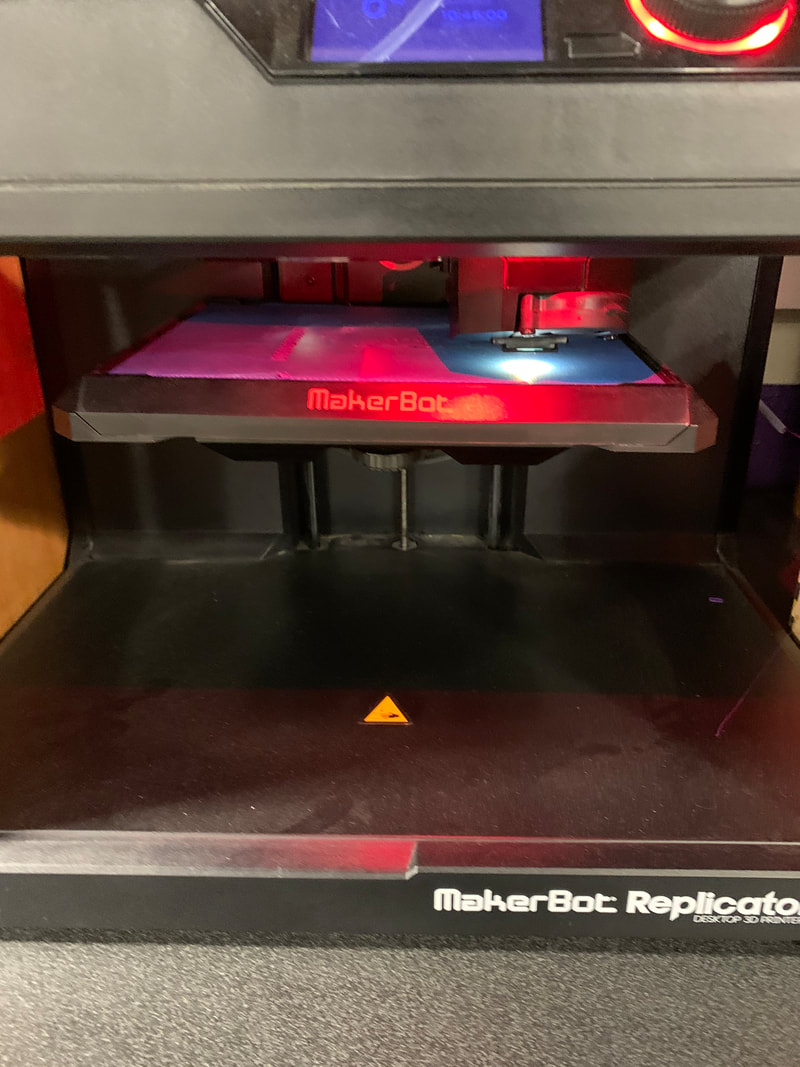
My print was put onto the 3D printer and then it began to print and it would take a long time.
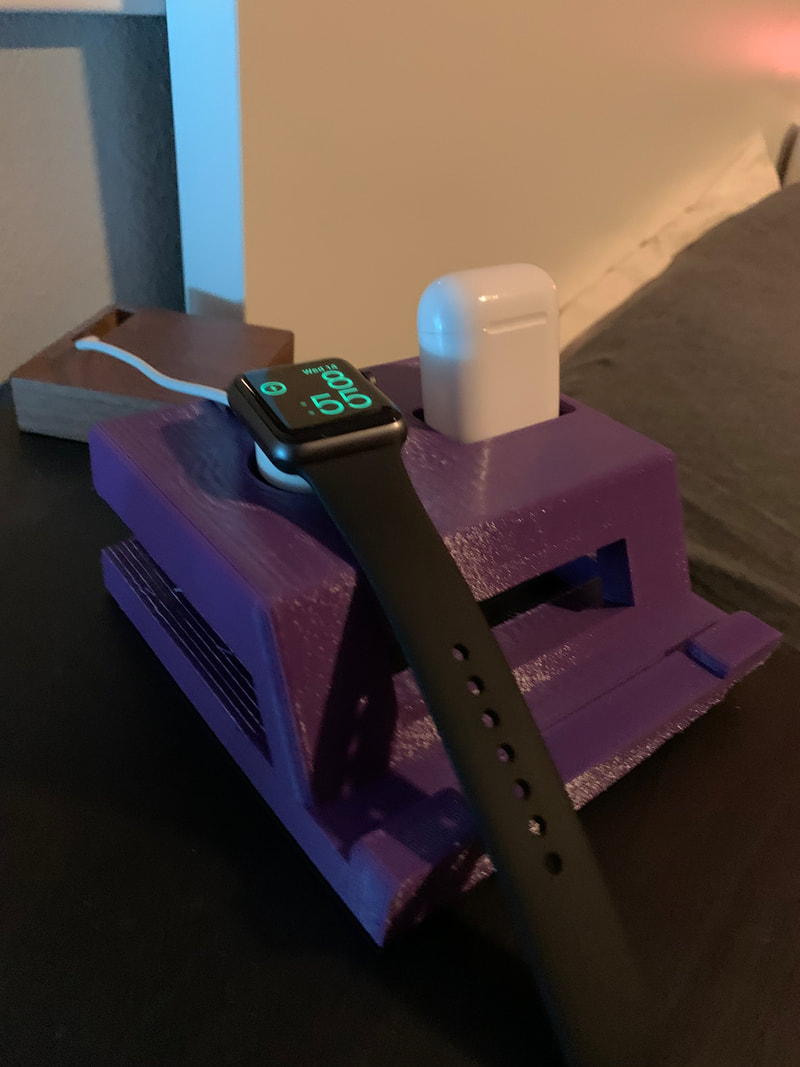
This is the final result of what I had designed and 3D printed. I have used it everyday to charge all of my tech and stuff before school and it is very convenient because all of my stuff is in one place. I was very happy with how it had turned out however one slight flaw with my design was that it was so long that the front right corner began to warp during the printing process to the front right side is a little unstable.
What I learned
I have gained a large sum of knowledge from this project and experience. This was my first ever time using the 3D printer in the Waunakee High School innovation center. I became more familiar with the software that I used such as Inventor and the 3D printer. Figuring out a design that worked for myself and my purposes was a challenge from the start as I had a hard time choosing what design I wanted to go with. One thing I have learned and something I want to try out more next time is when I create objects that are boxes I want to use more curved edges, one place this would have worked well would have been in the AirPods holder because their case is curved at the edges. I had a lot of fun being able to have some creative freedom to design and create something that I wanted to make. I use this I phone holder everyday and use it's charging capabilities often too.
